Surface slip stitch
• This is a slip stitch worked through your finished work and appearing on the surface.
• Make sure you are working the stitches very loosely, otherwise your fabric will scrunch up and lose some stretch.
• The techniques used to start and finish will make your yarn secure, but we suggest that you weave ends as shown, just so they don't float around and show through your work.
-
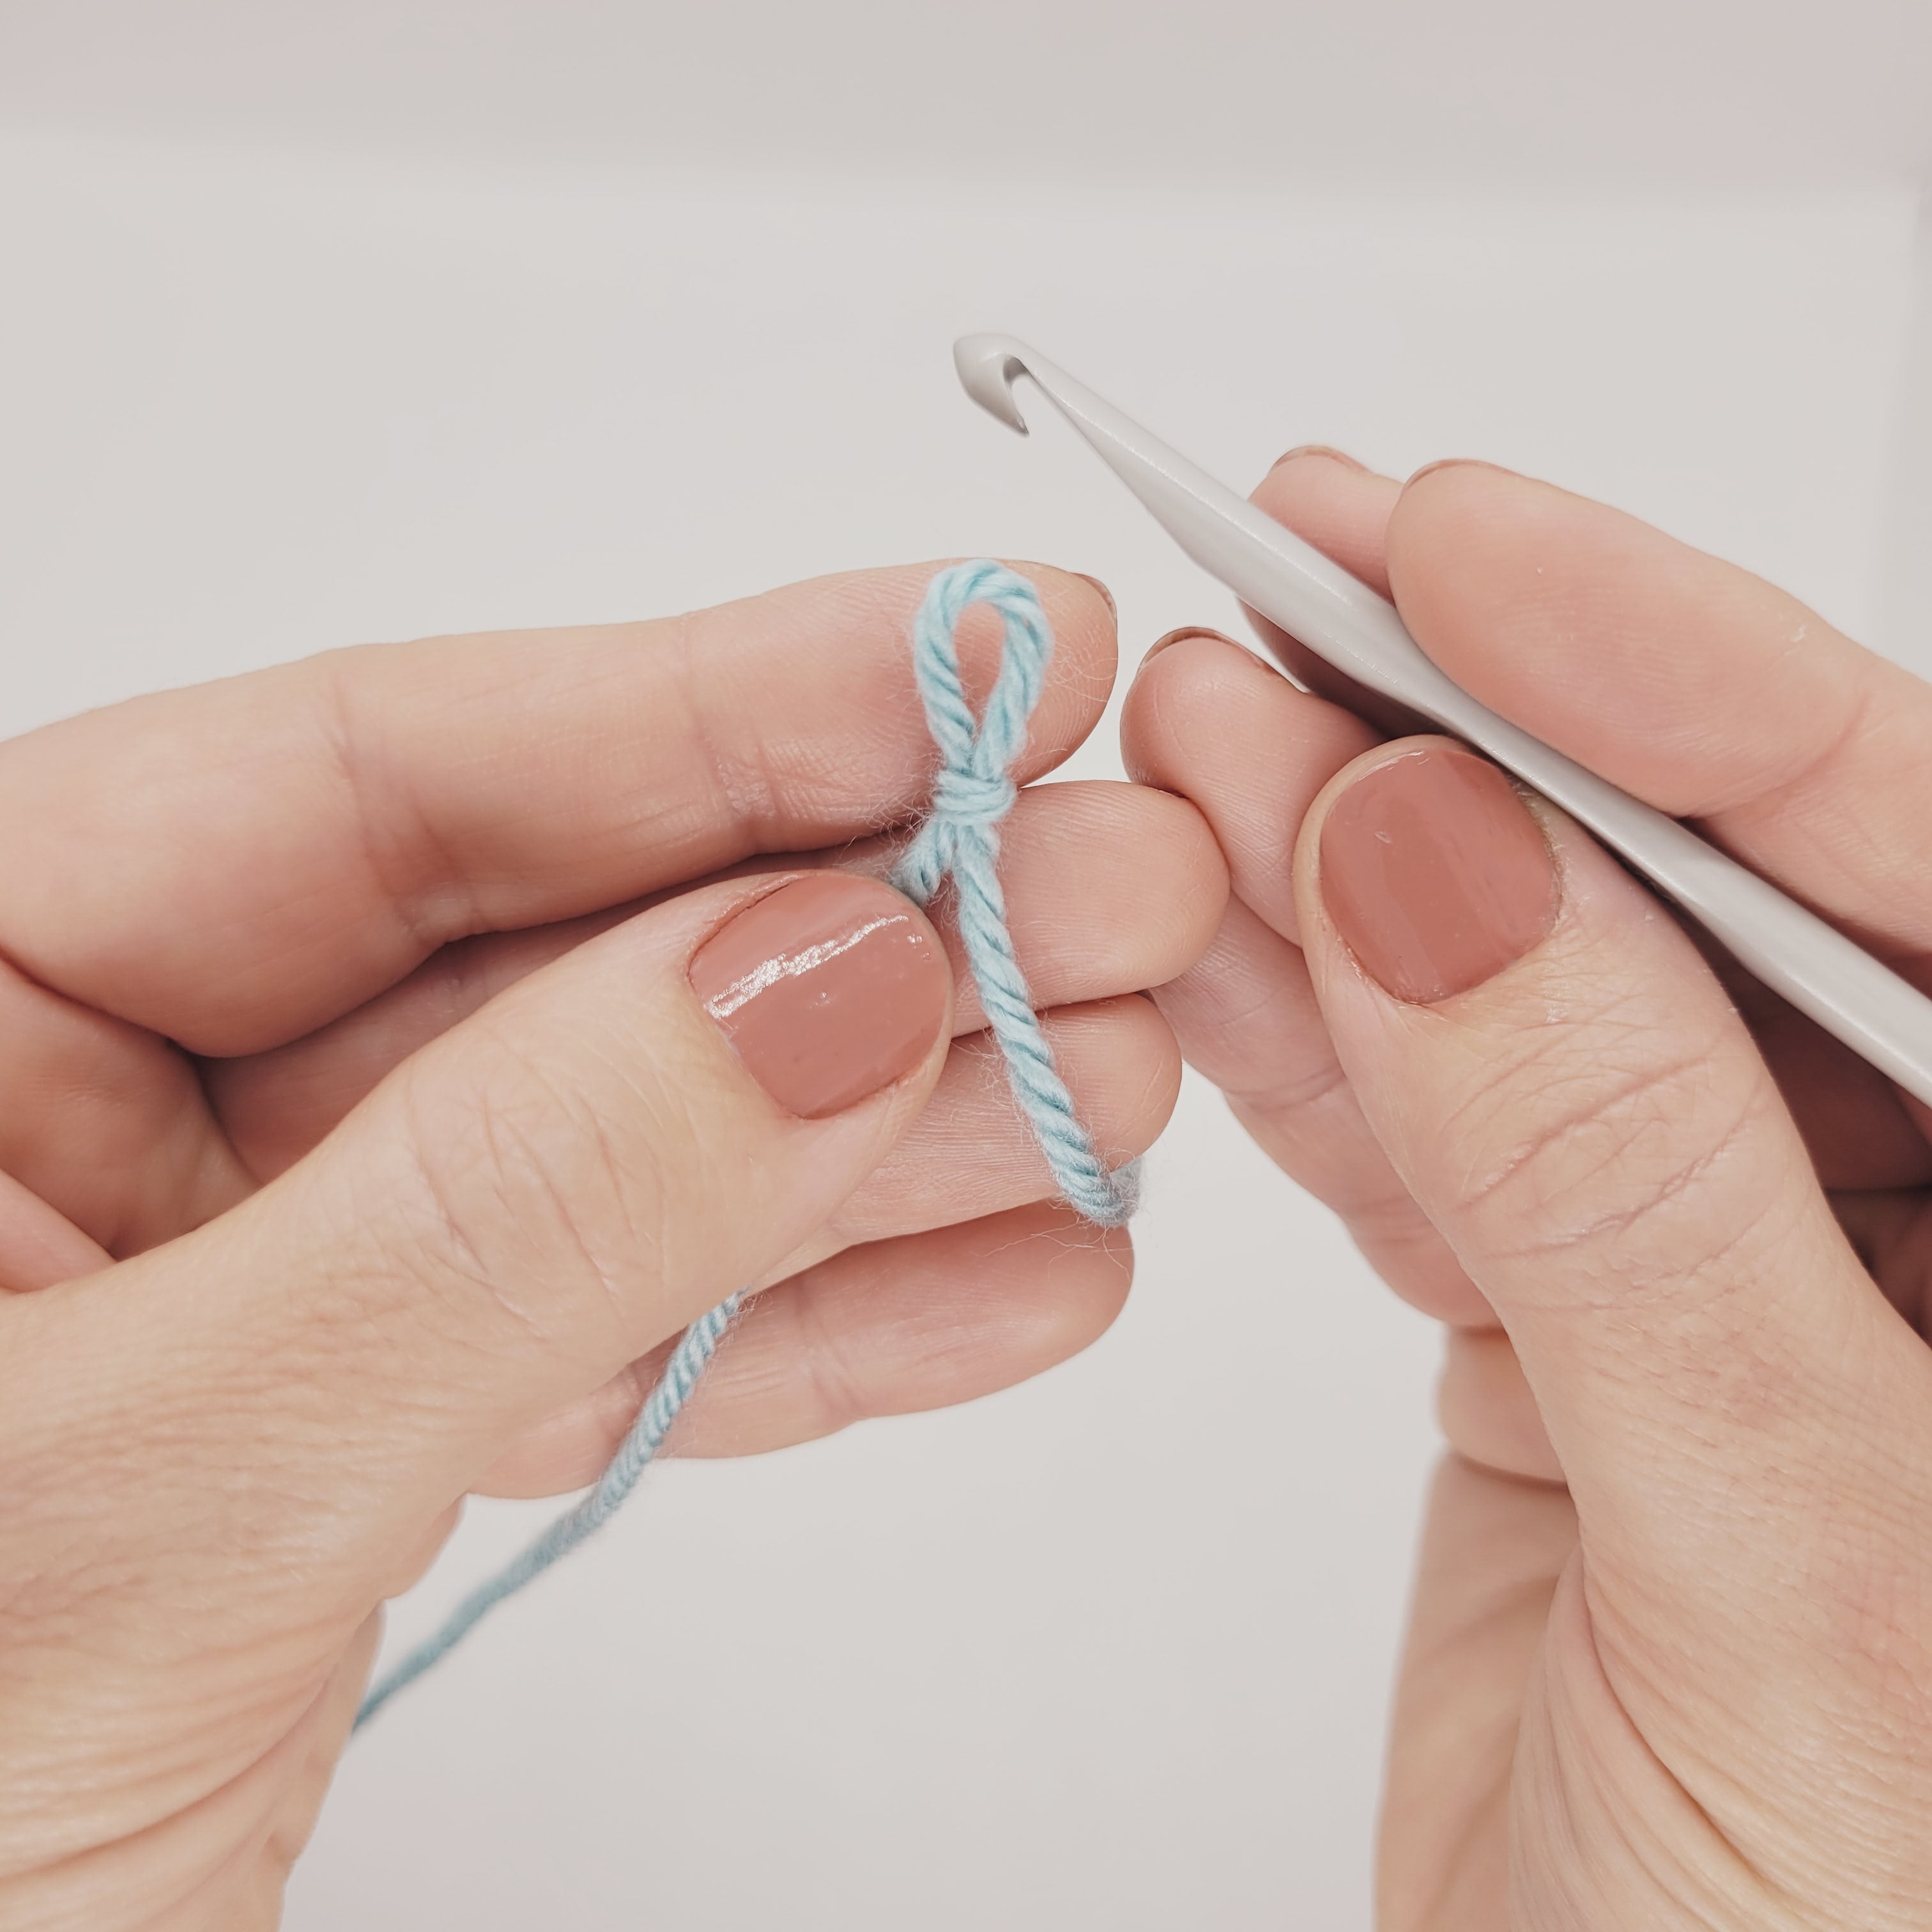
Step 1
With the color you will use on the sirface, kake a slip knot (and take it off your hook if you used the hook to make it).
-
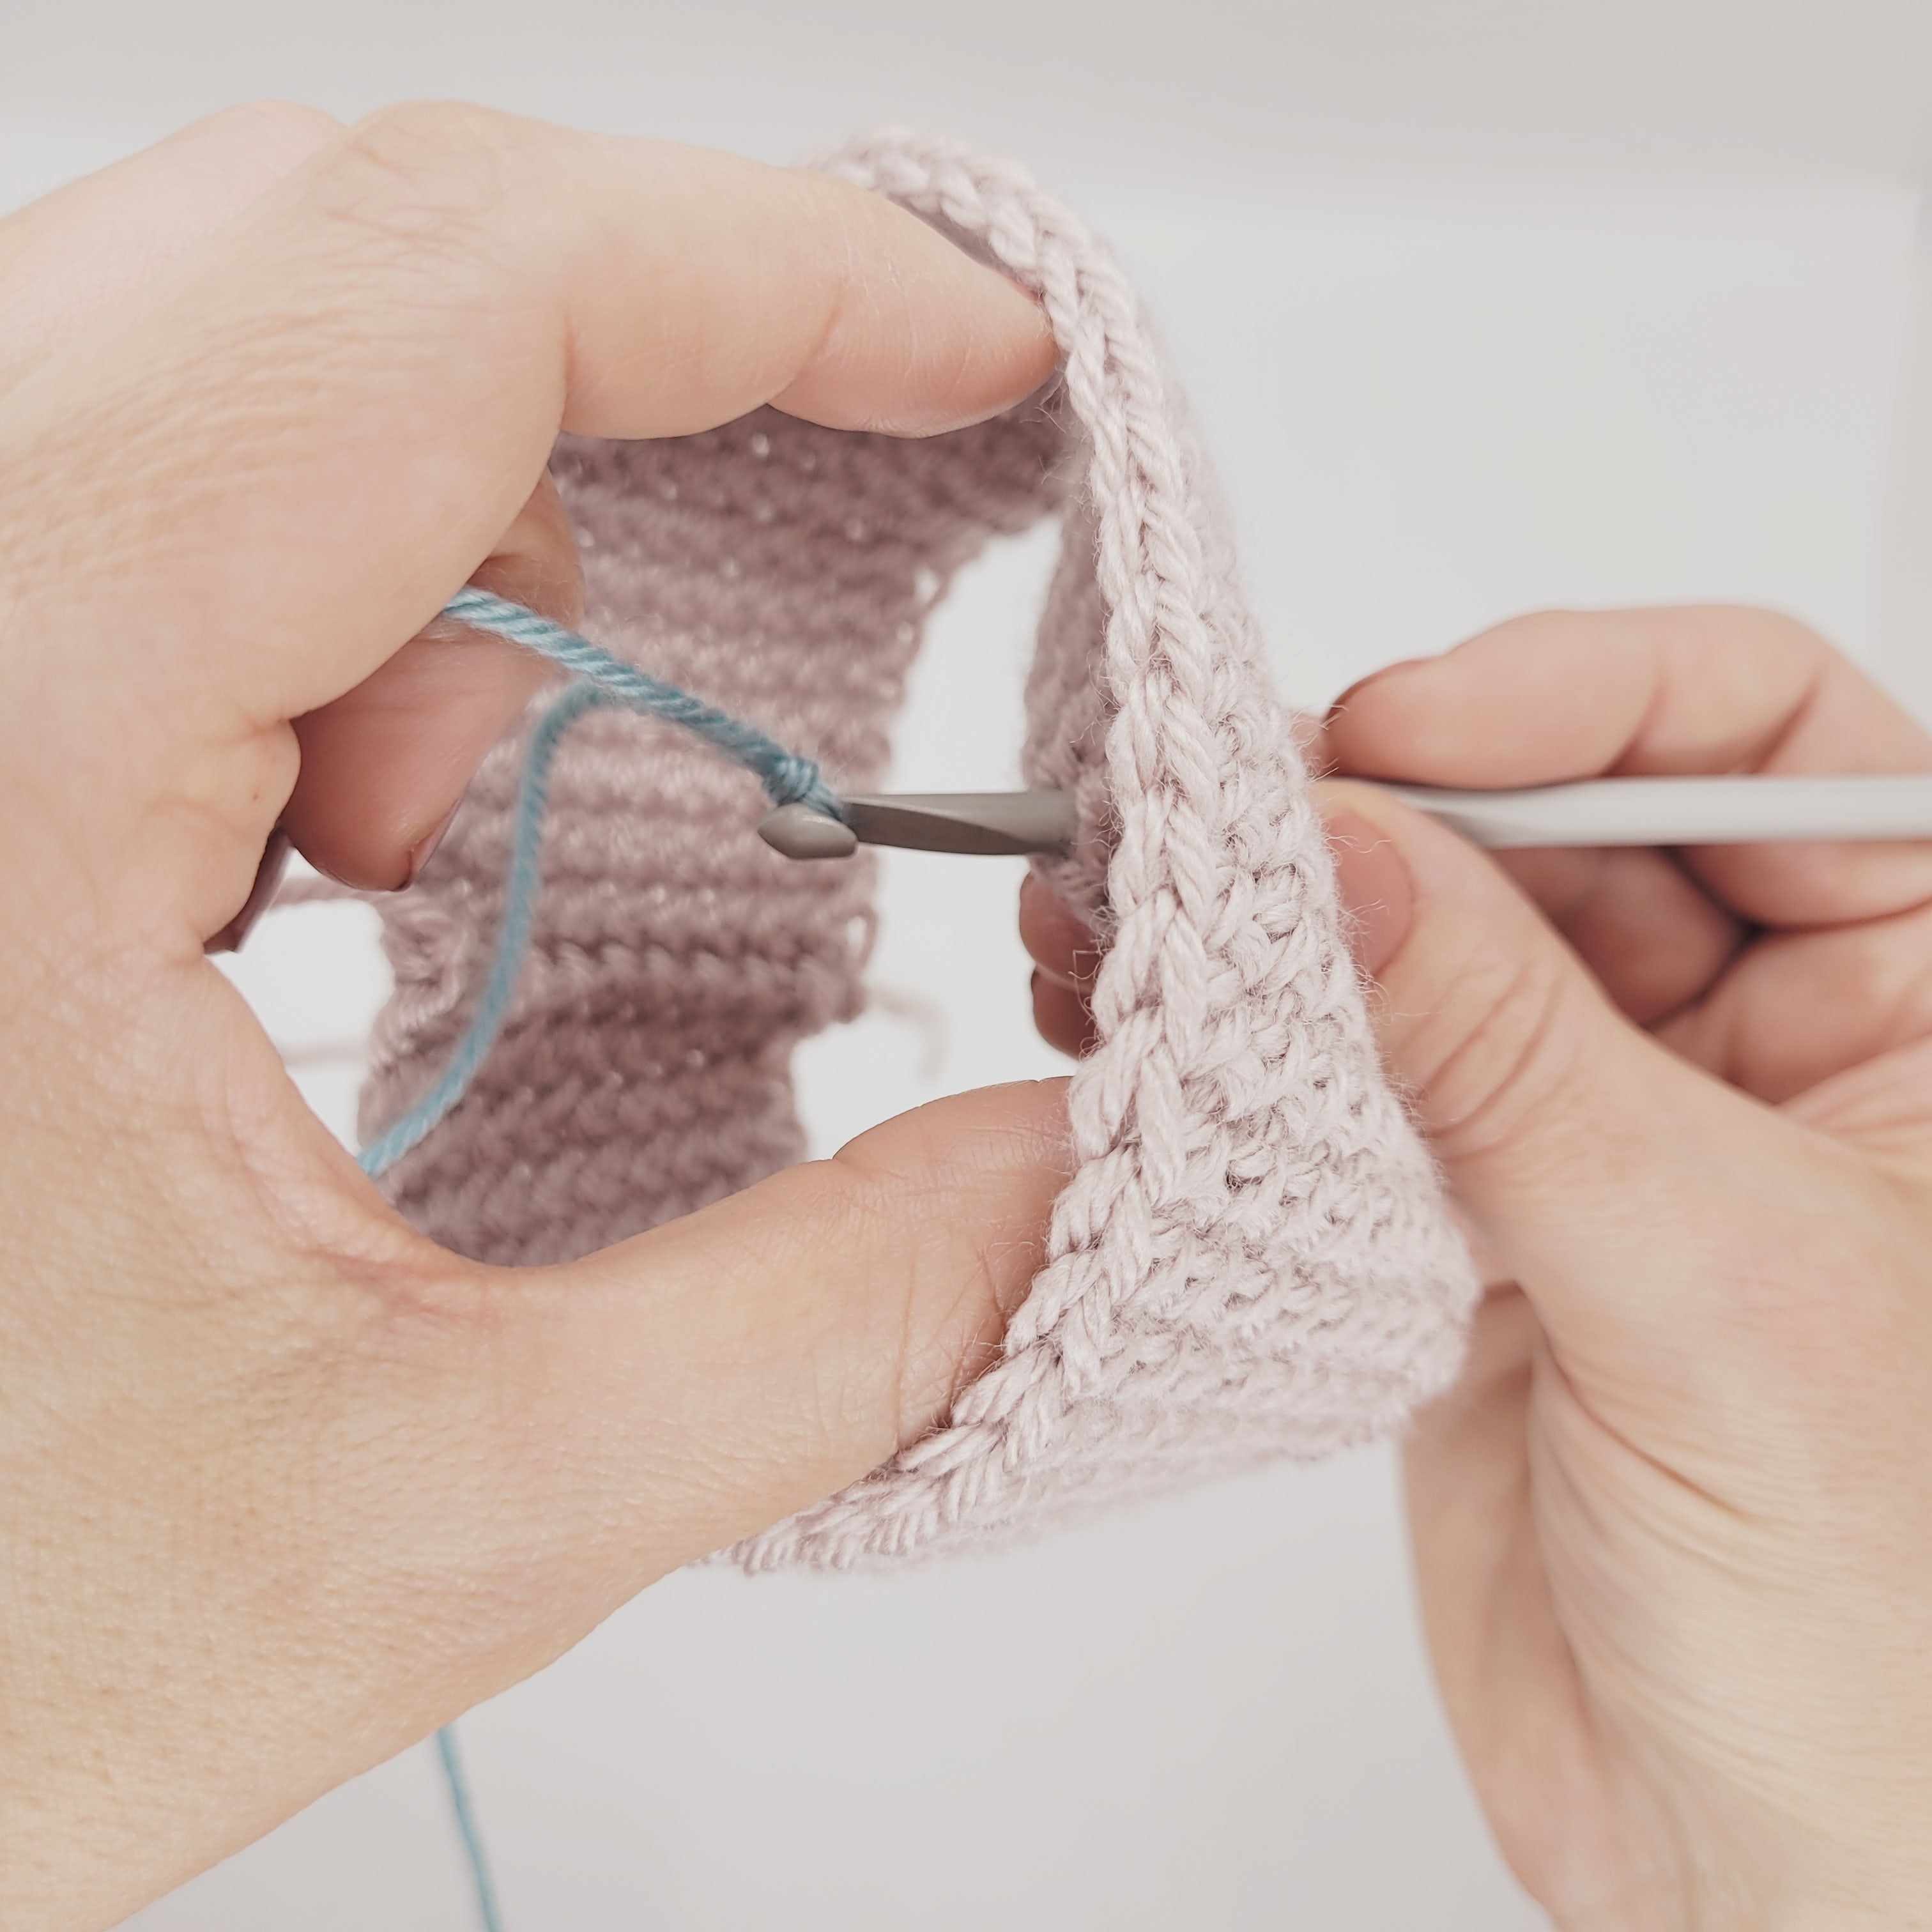
Step 2
Insert your hook where you want to start your design, from the right side towards the wrong side (or from the outside towards to inside).
Place the slip knot inside from the other side and onto your hook, and pull it through to the outside. You now have a single loop on your hook, and your working yarn is inside.
-

Look after Step 2


-
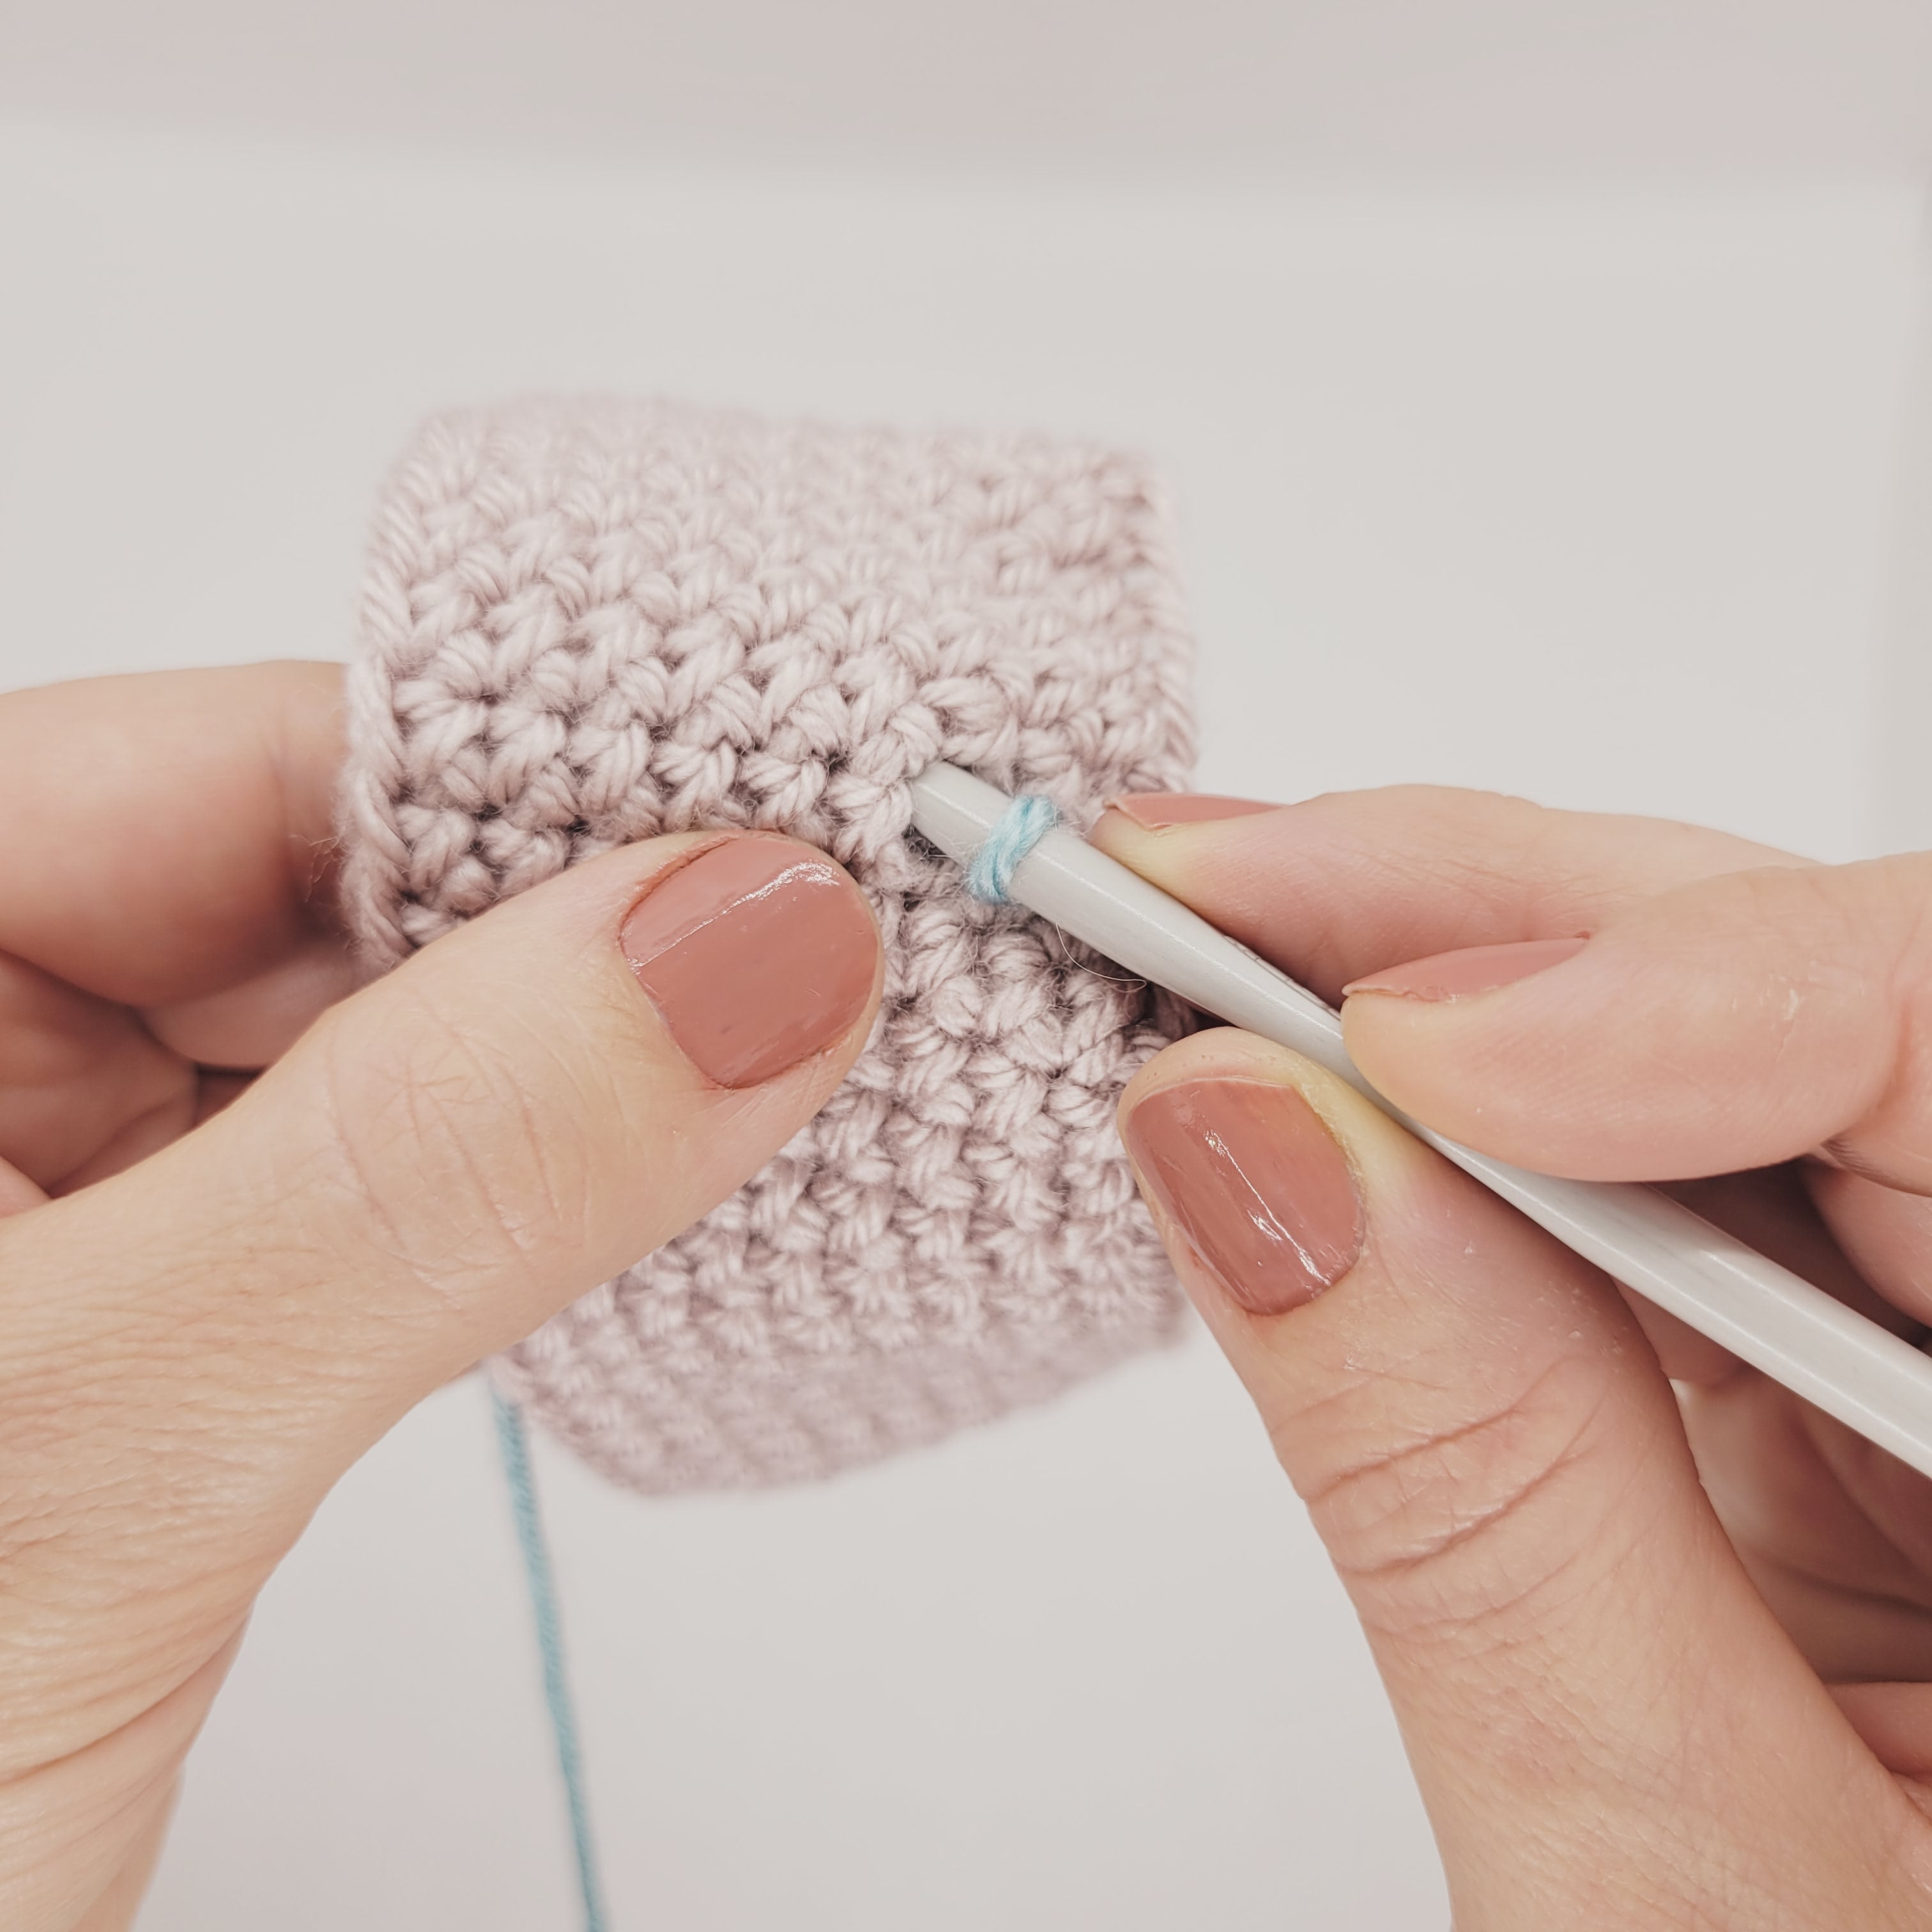
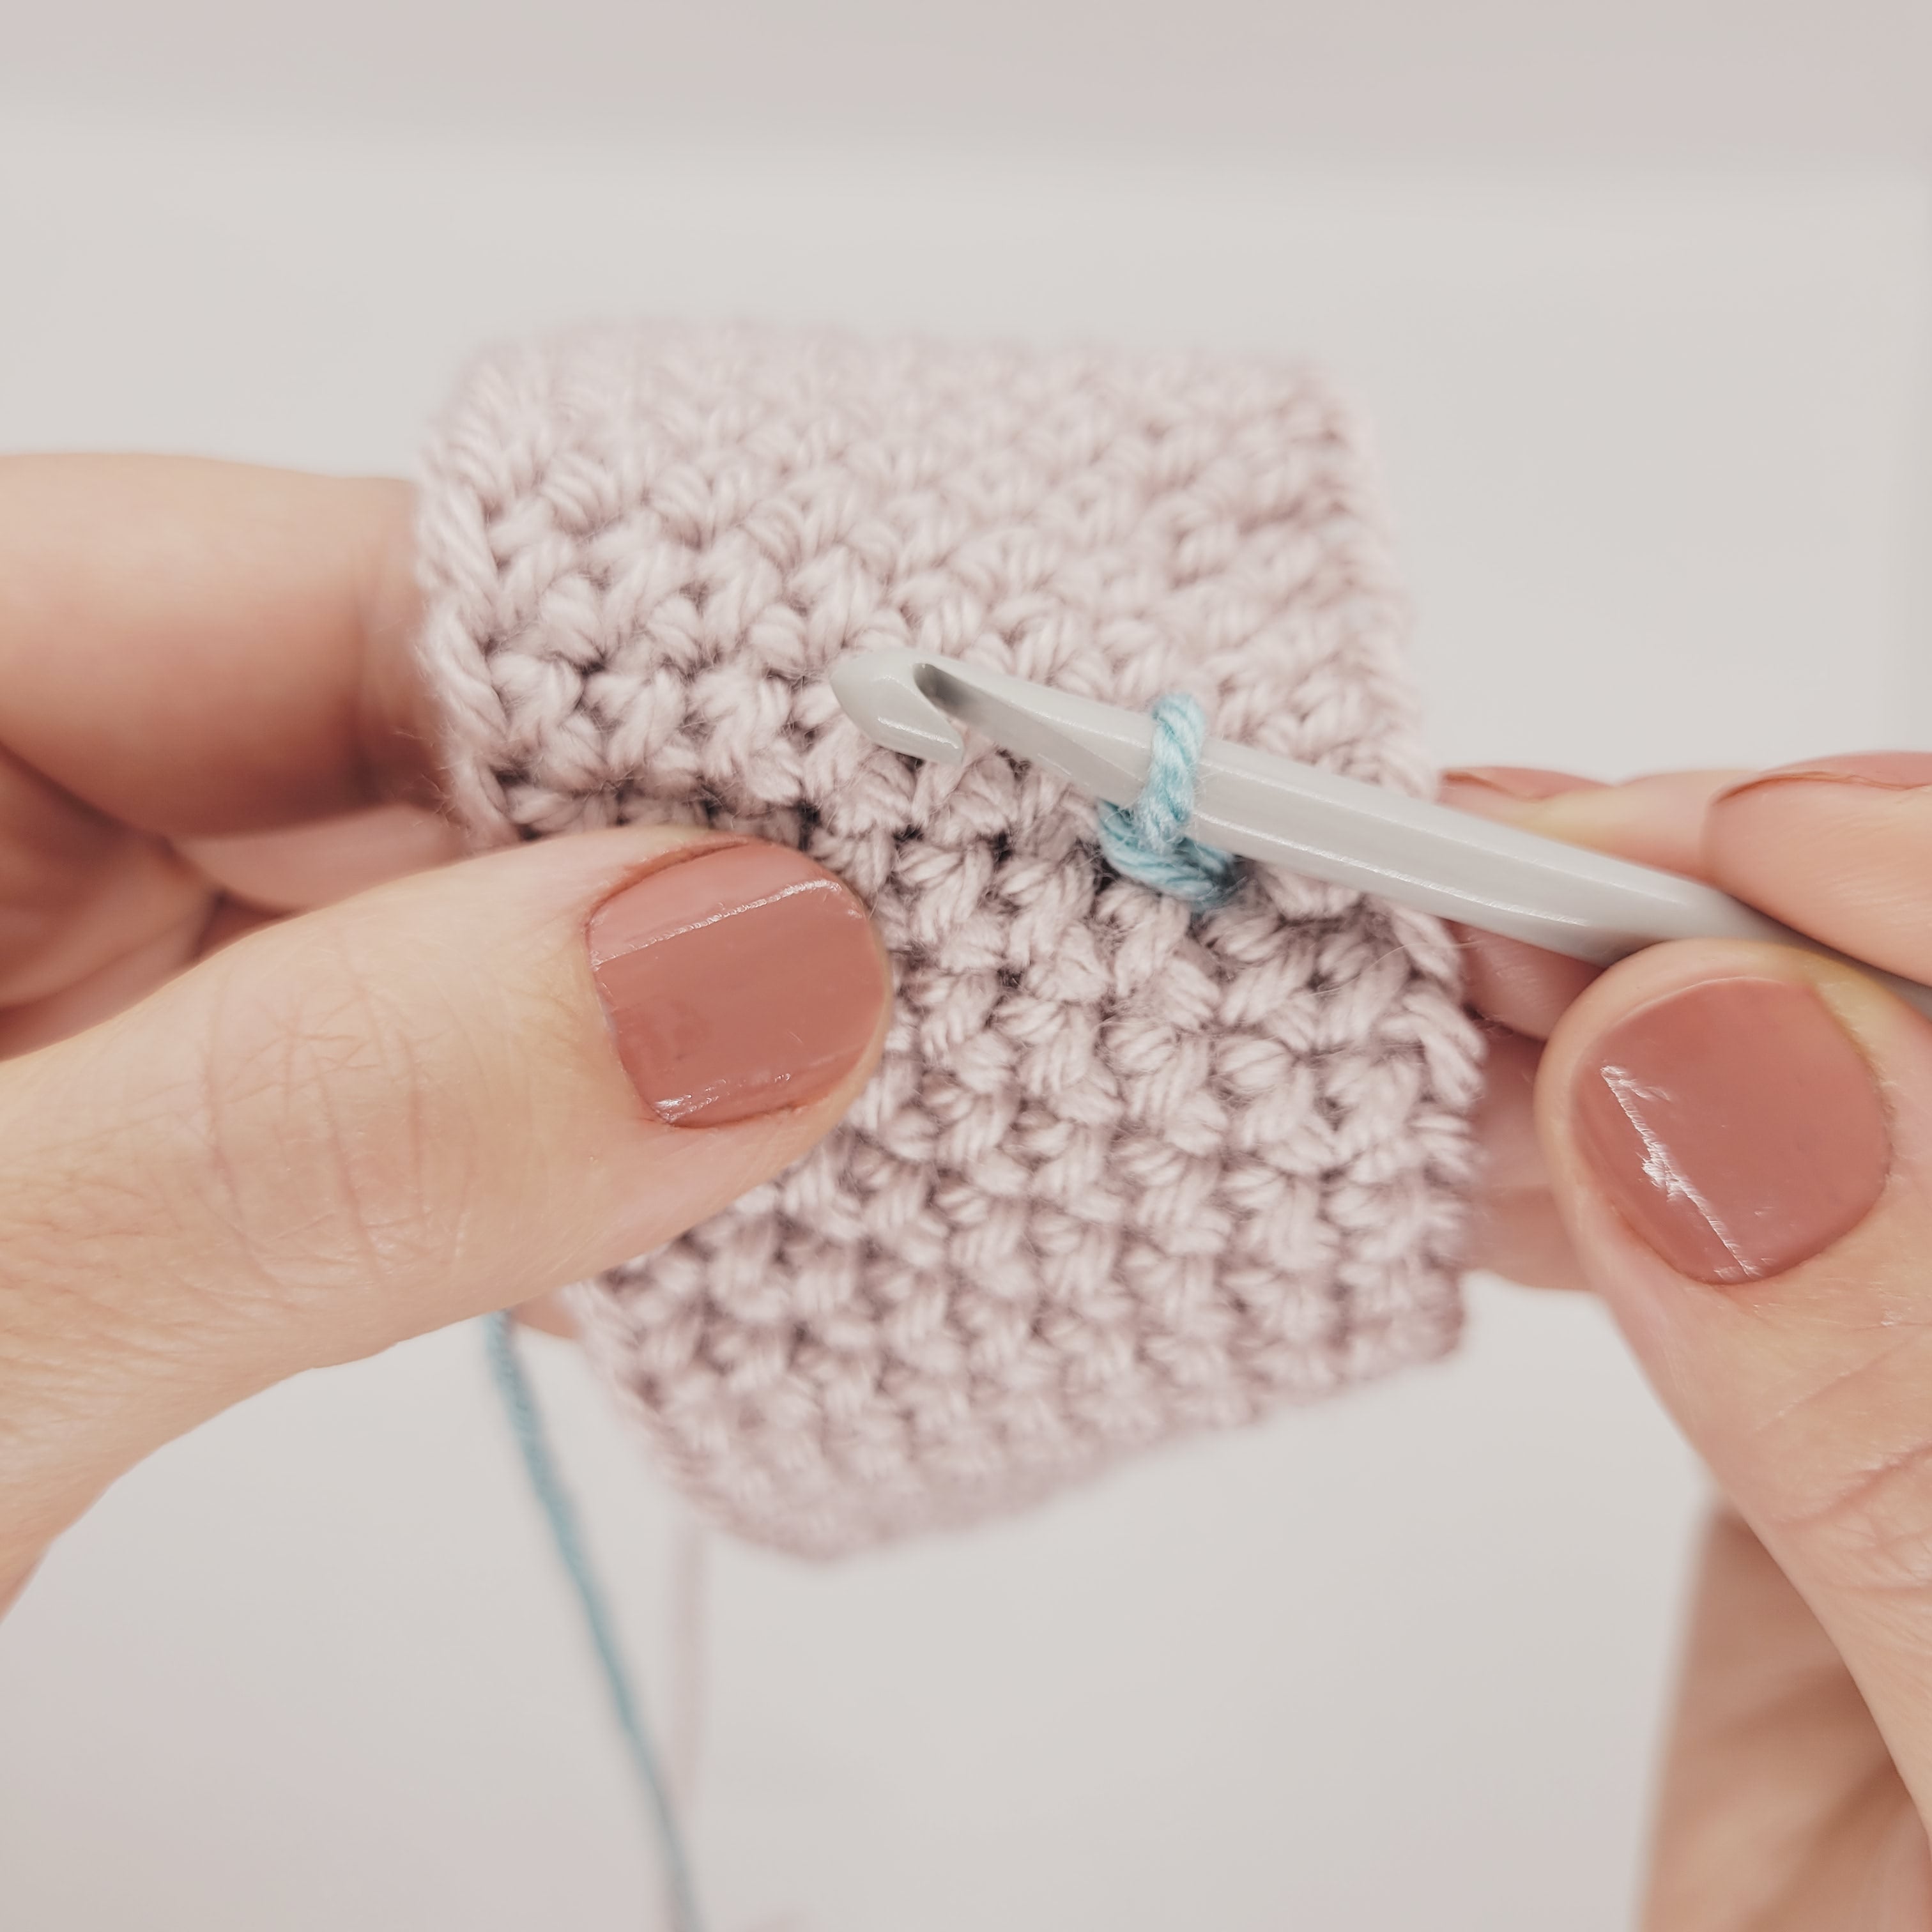
Step 3
Insert your hook into the next st when you want your design to go, and pull a loop to the outside.
-
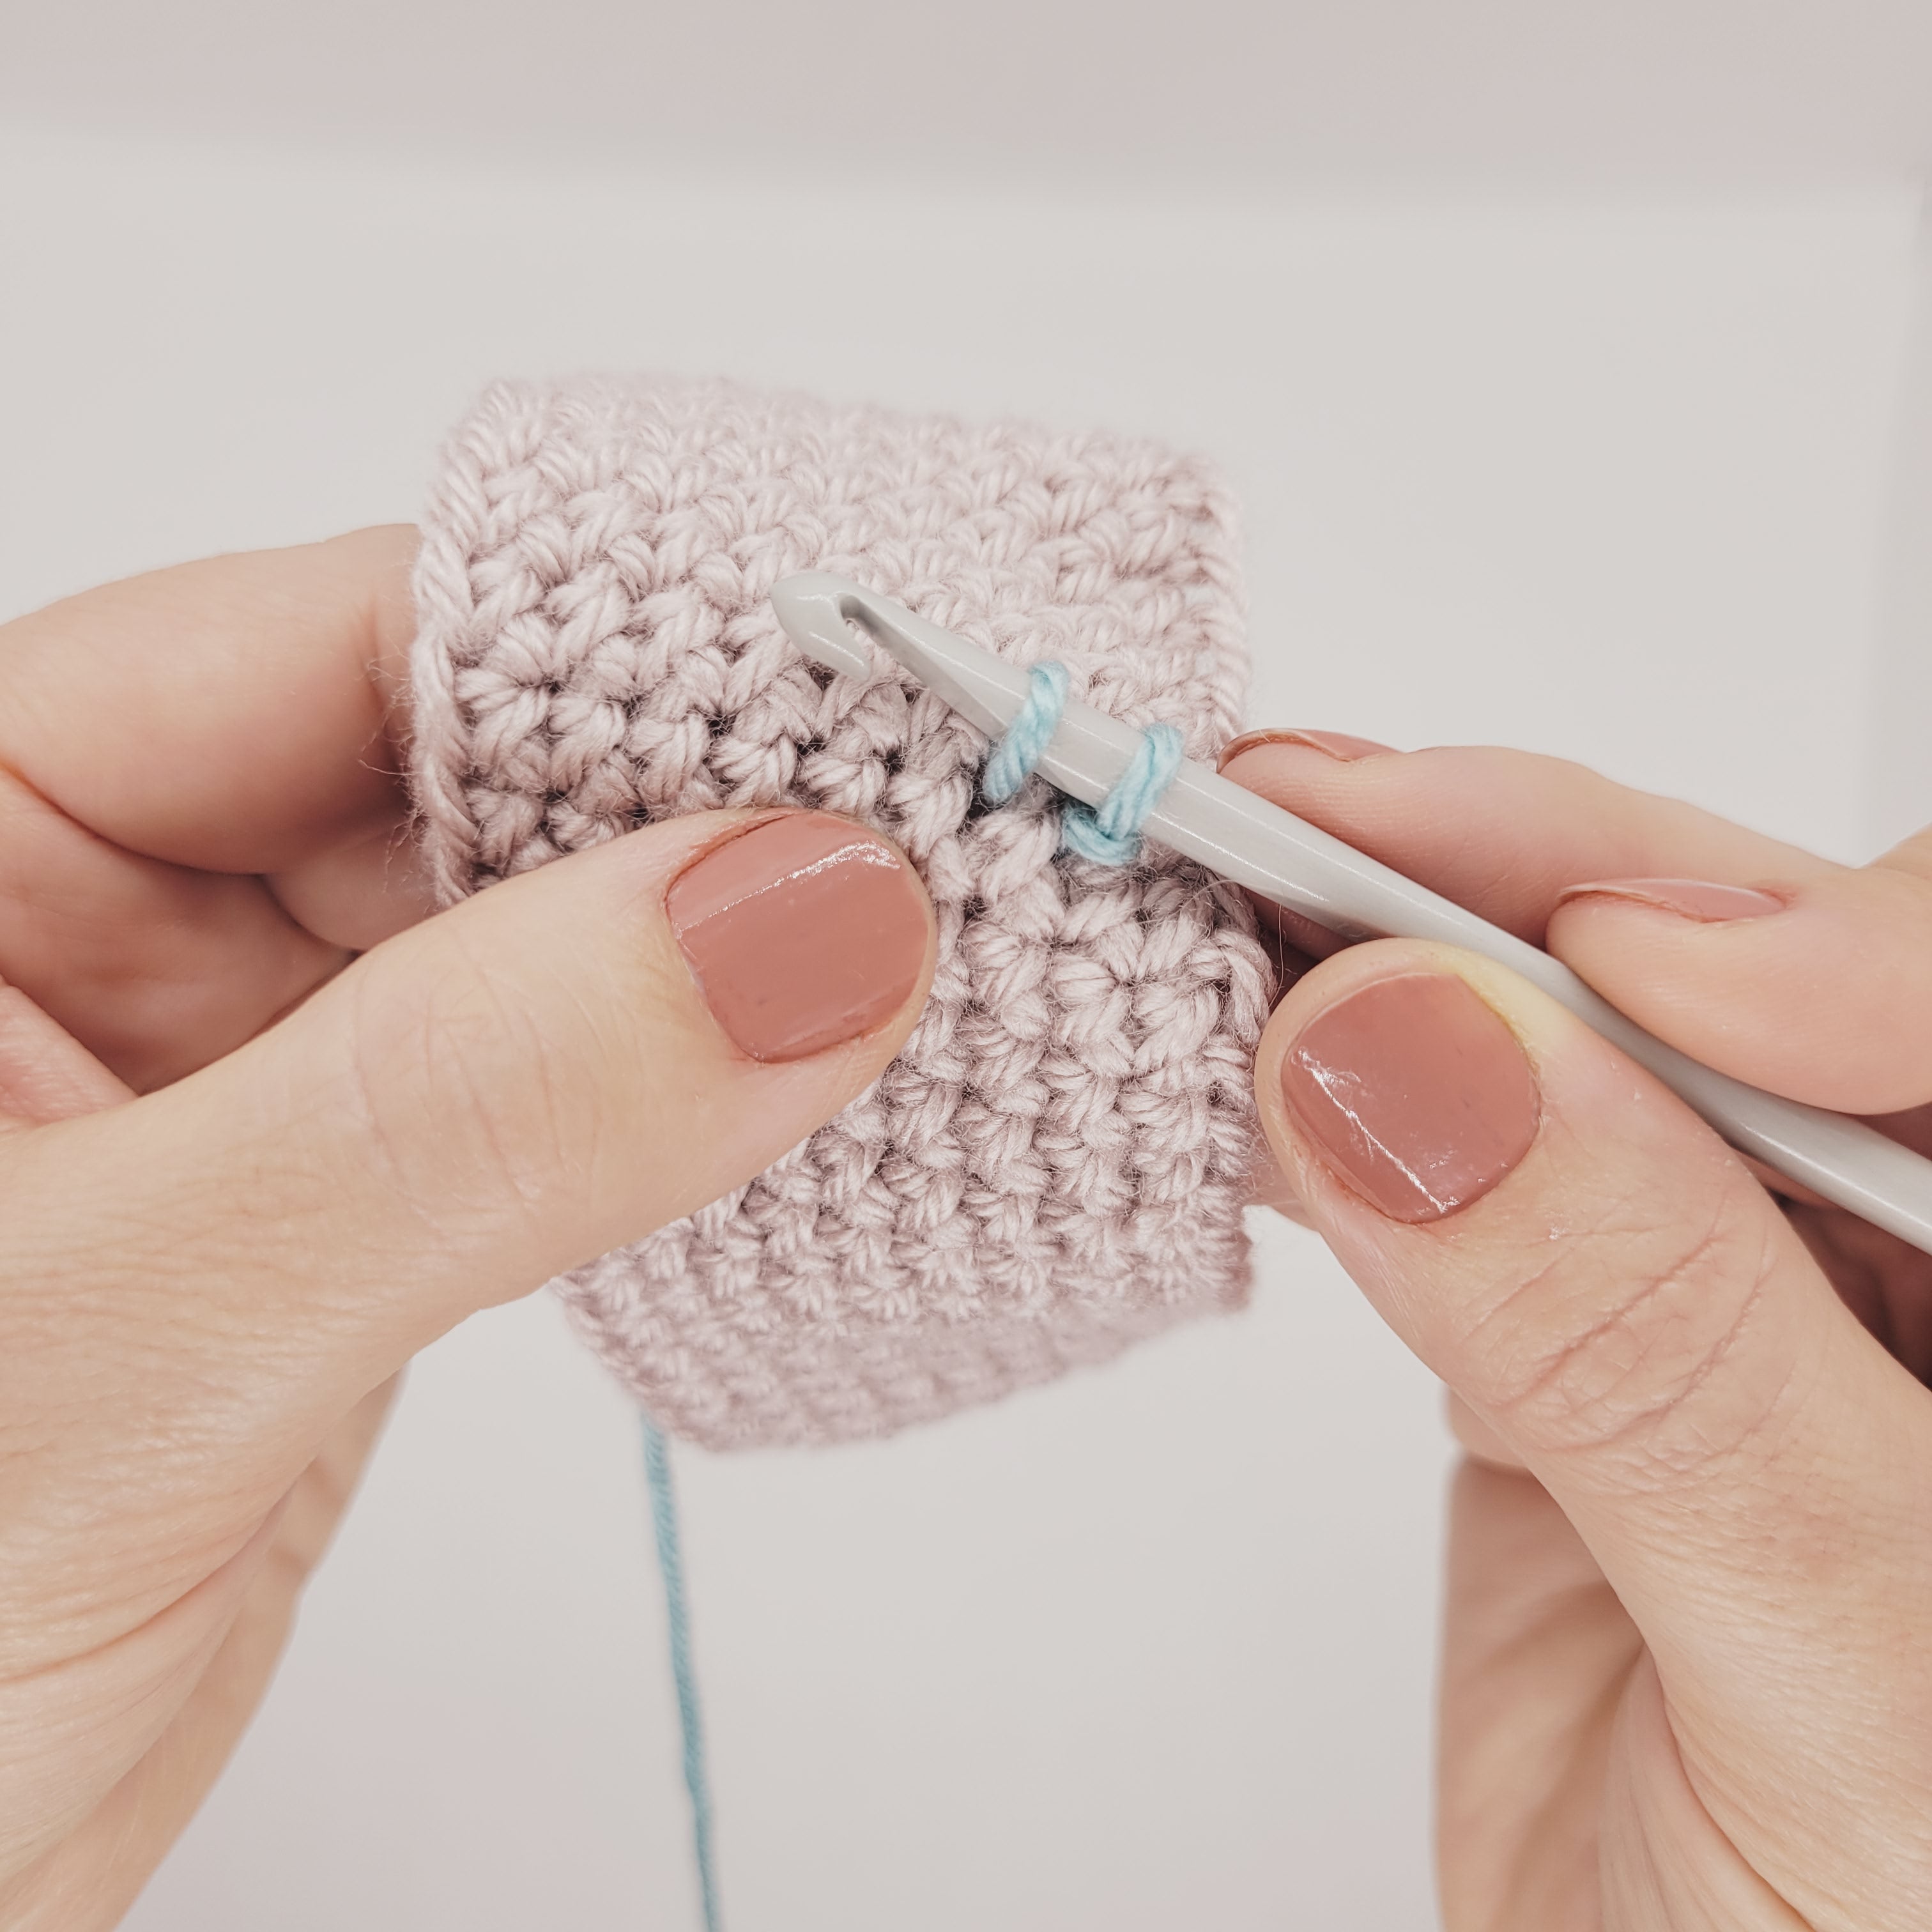
Step 4
Pull this loop through the one on your hook, completing a sl st.
-
Look after step 4


-
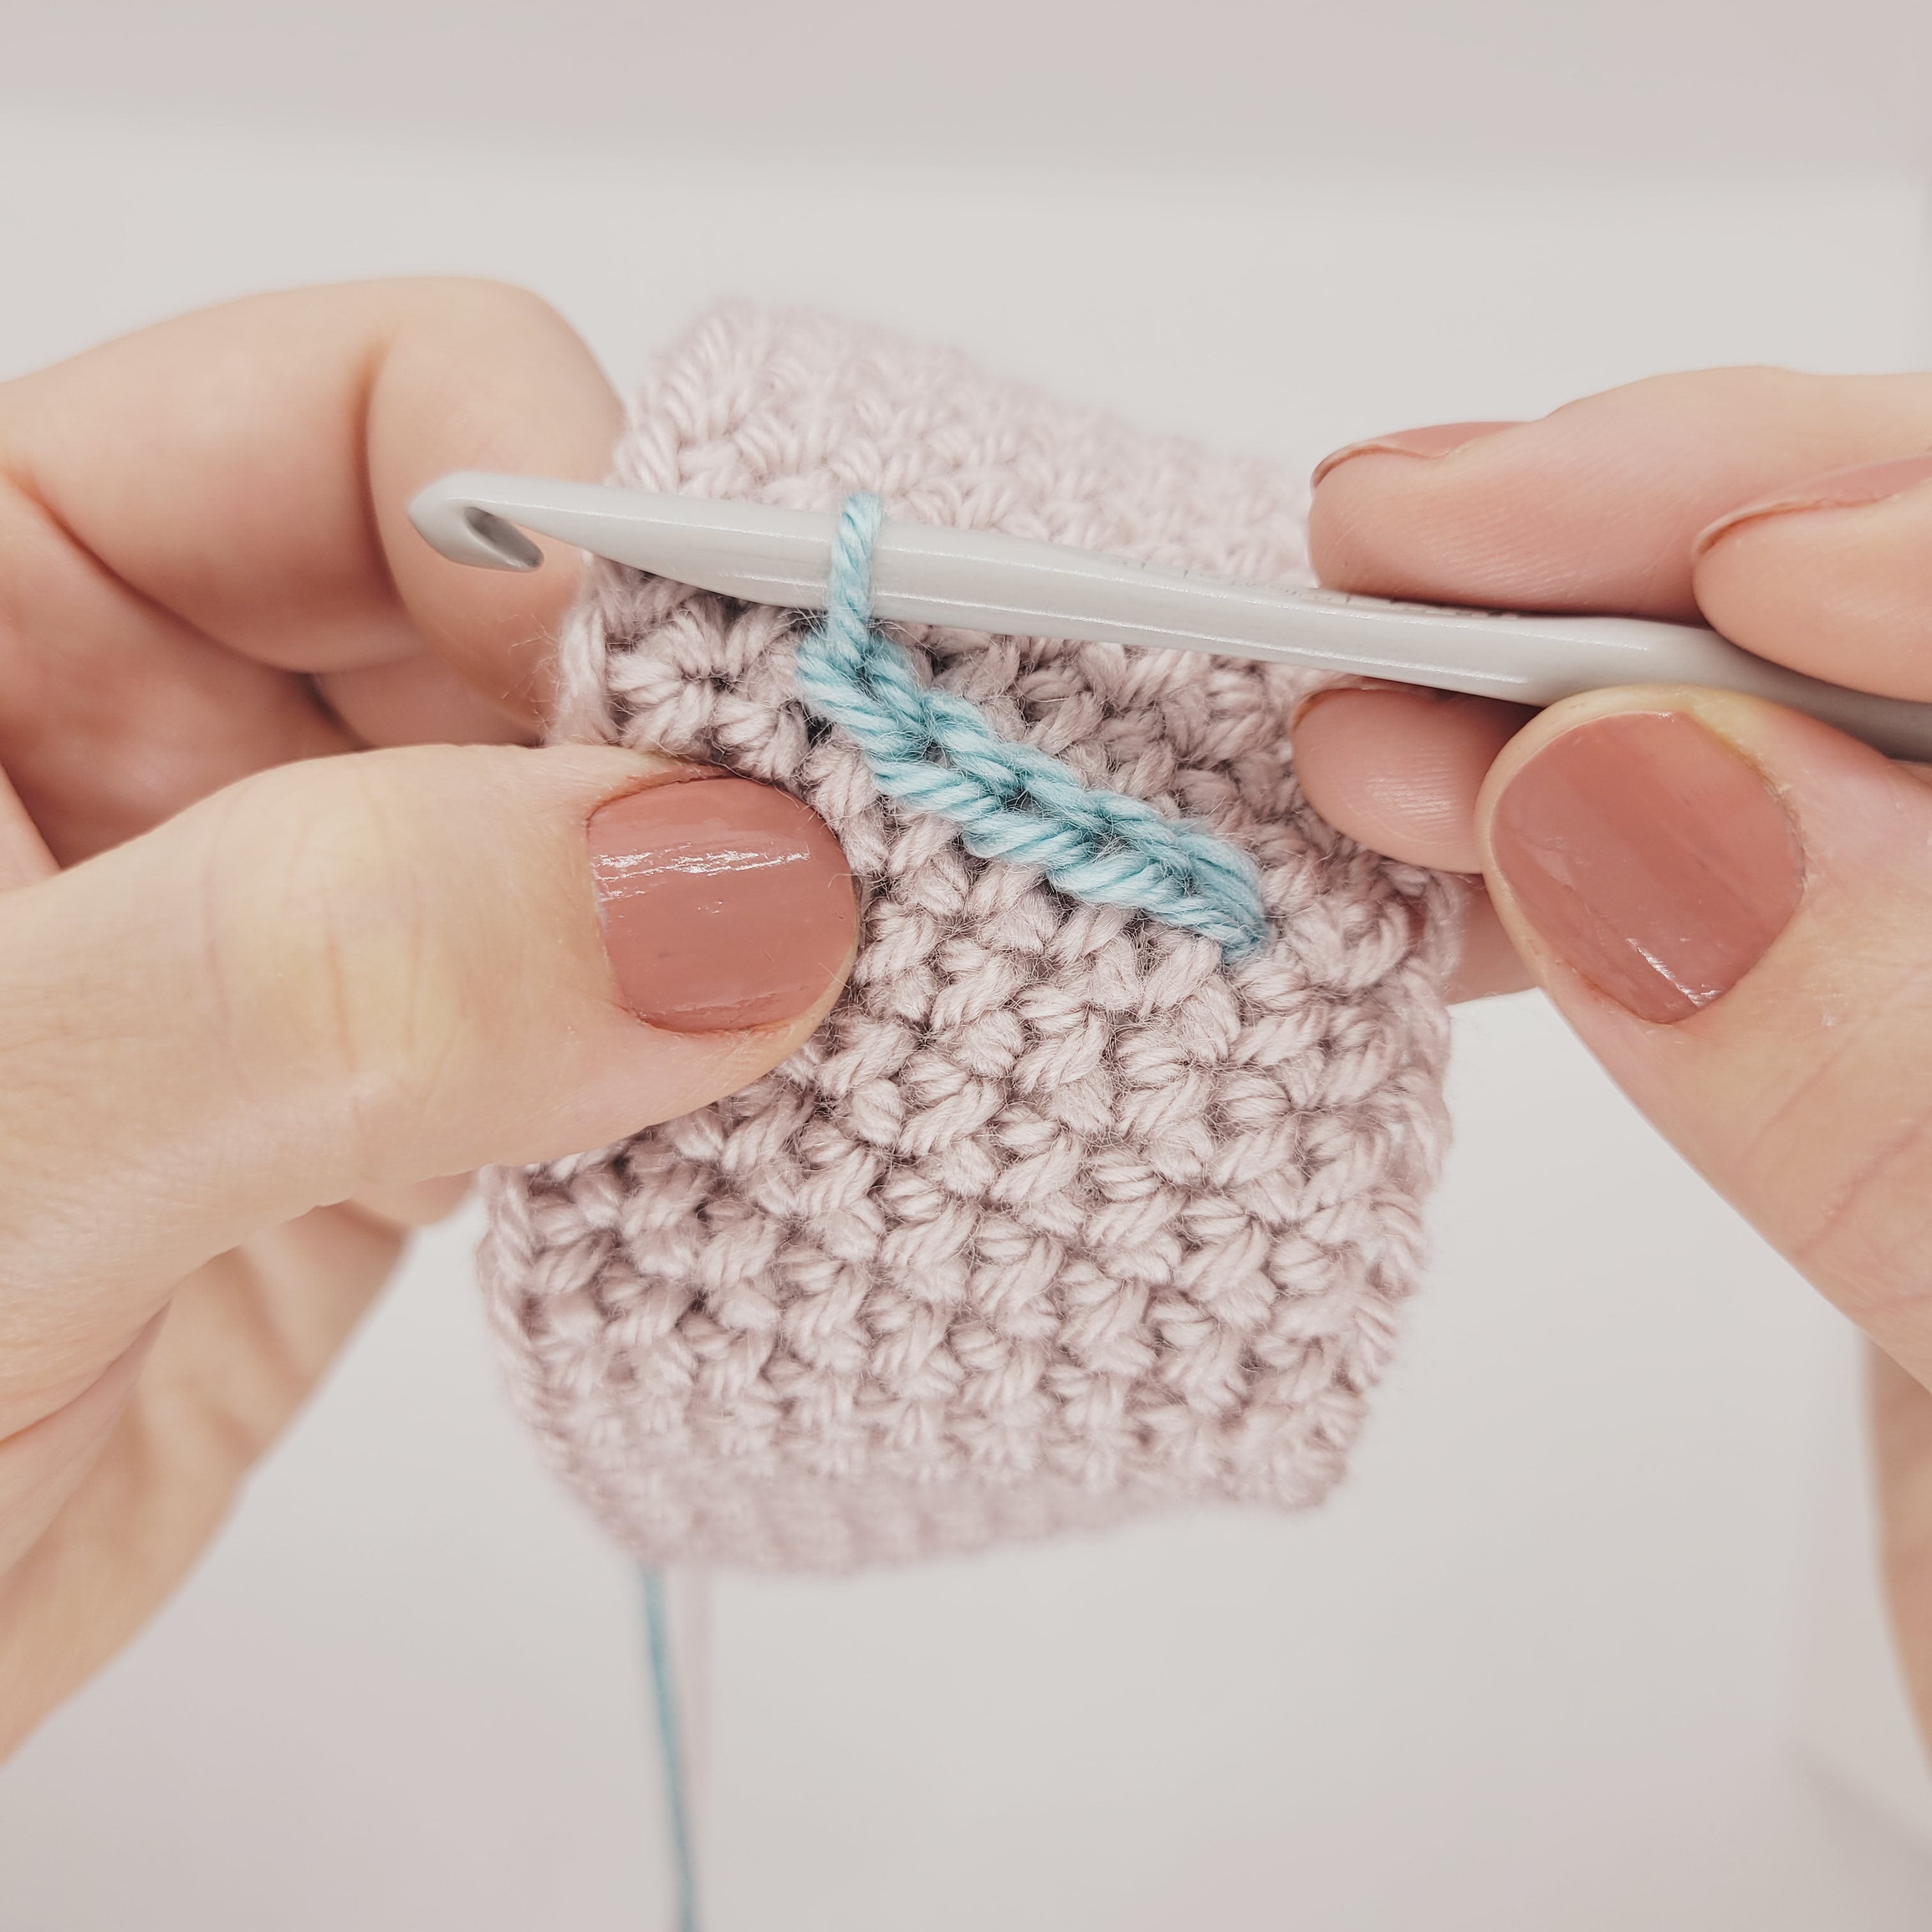
Look of many stitches completed
Work surface sl sts by repeating steps 3 and 4 all the way to the end of the line you are creating.
-
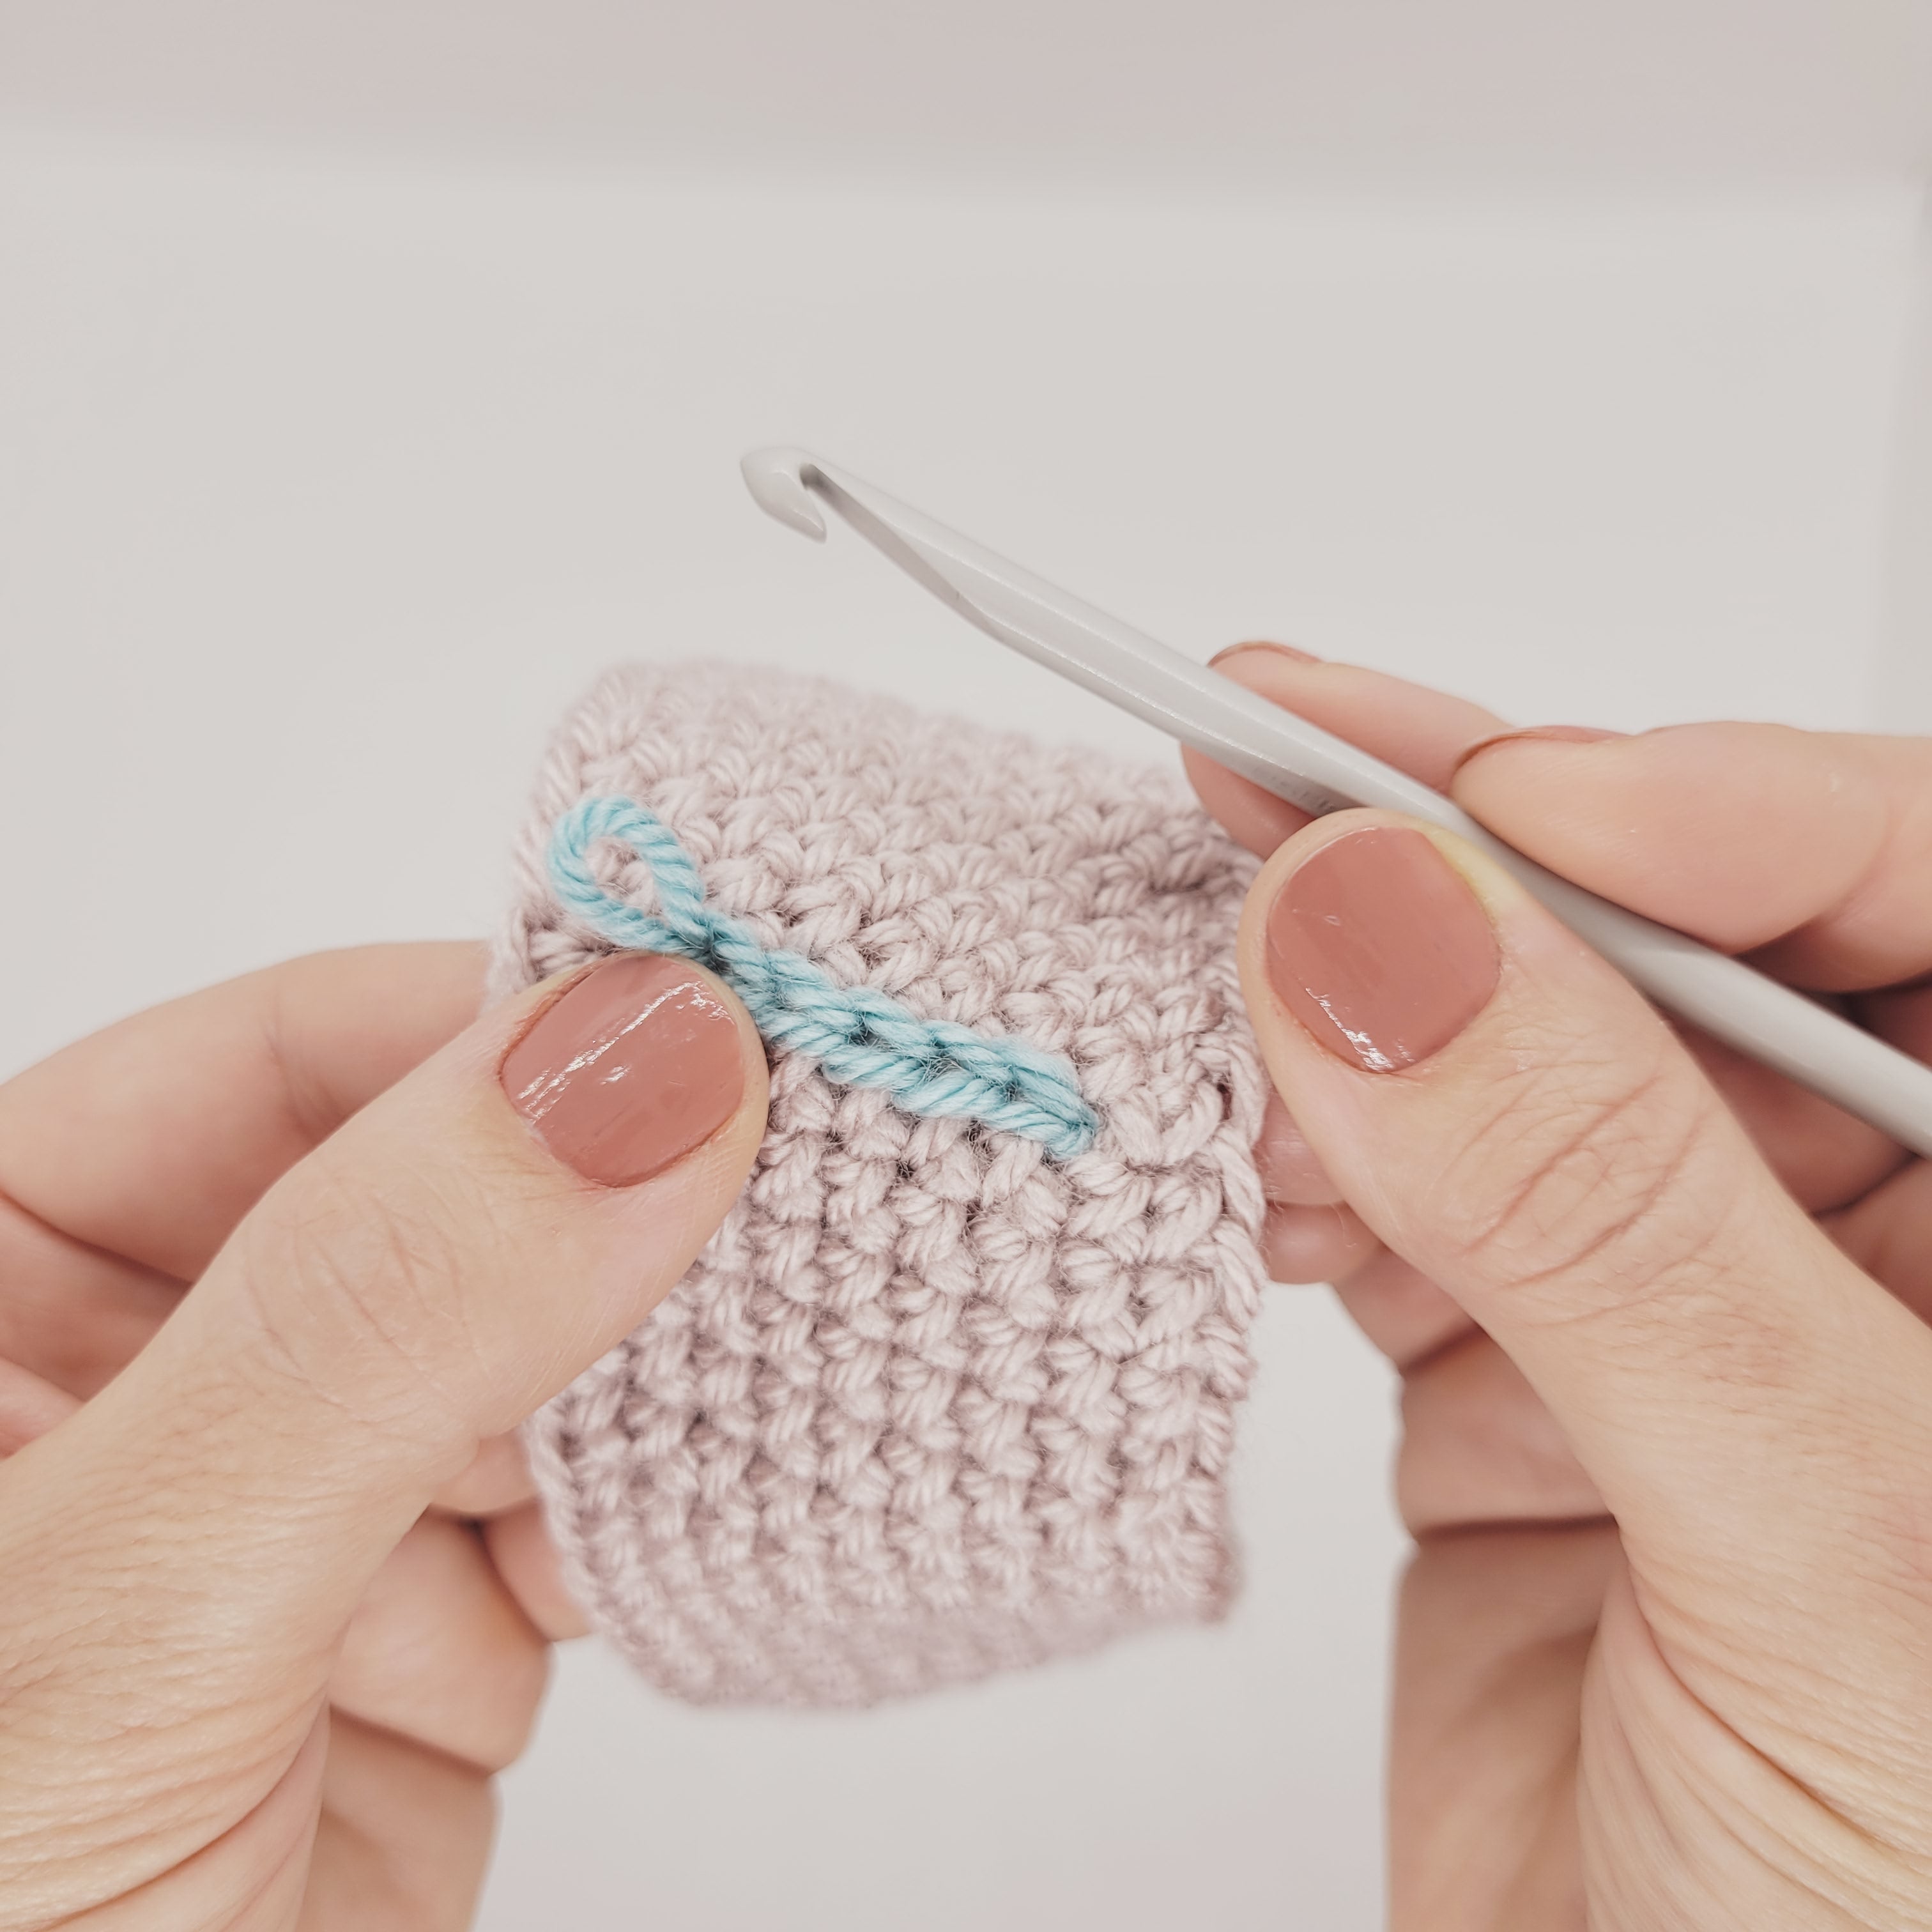
Step 5
When you reach your last stitch, carefully remove hook, leaving a little loop on the outside.
-
Step 6
Grab the loop you left on the outside and pull it through to the inside. Fasten off and weave ends inside.
-
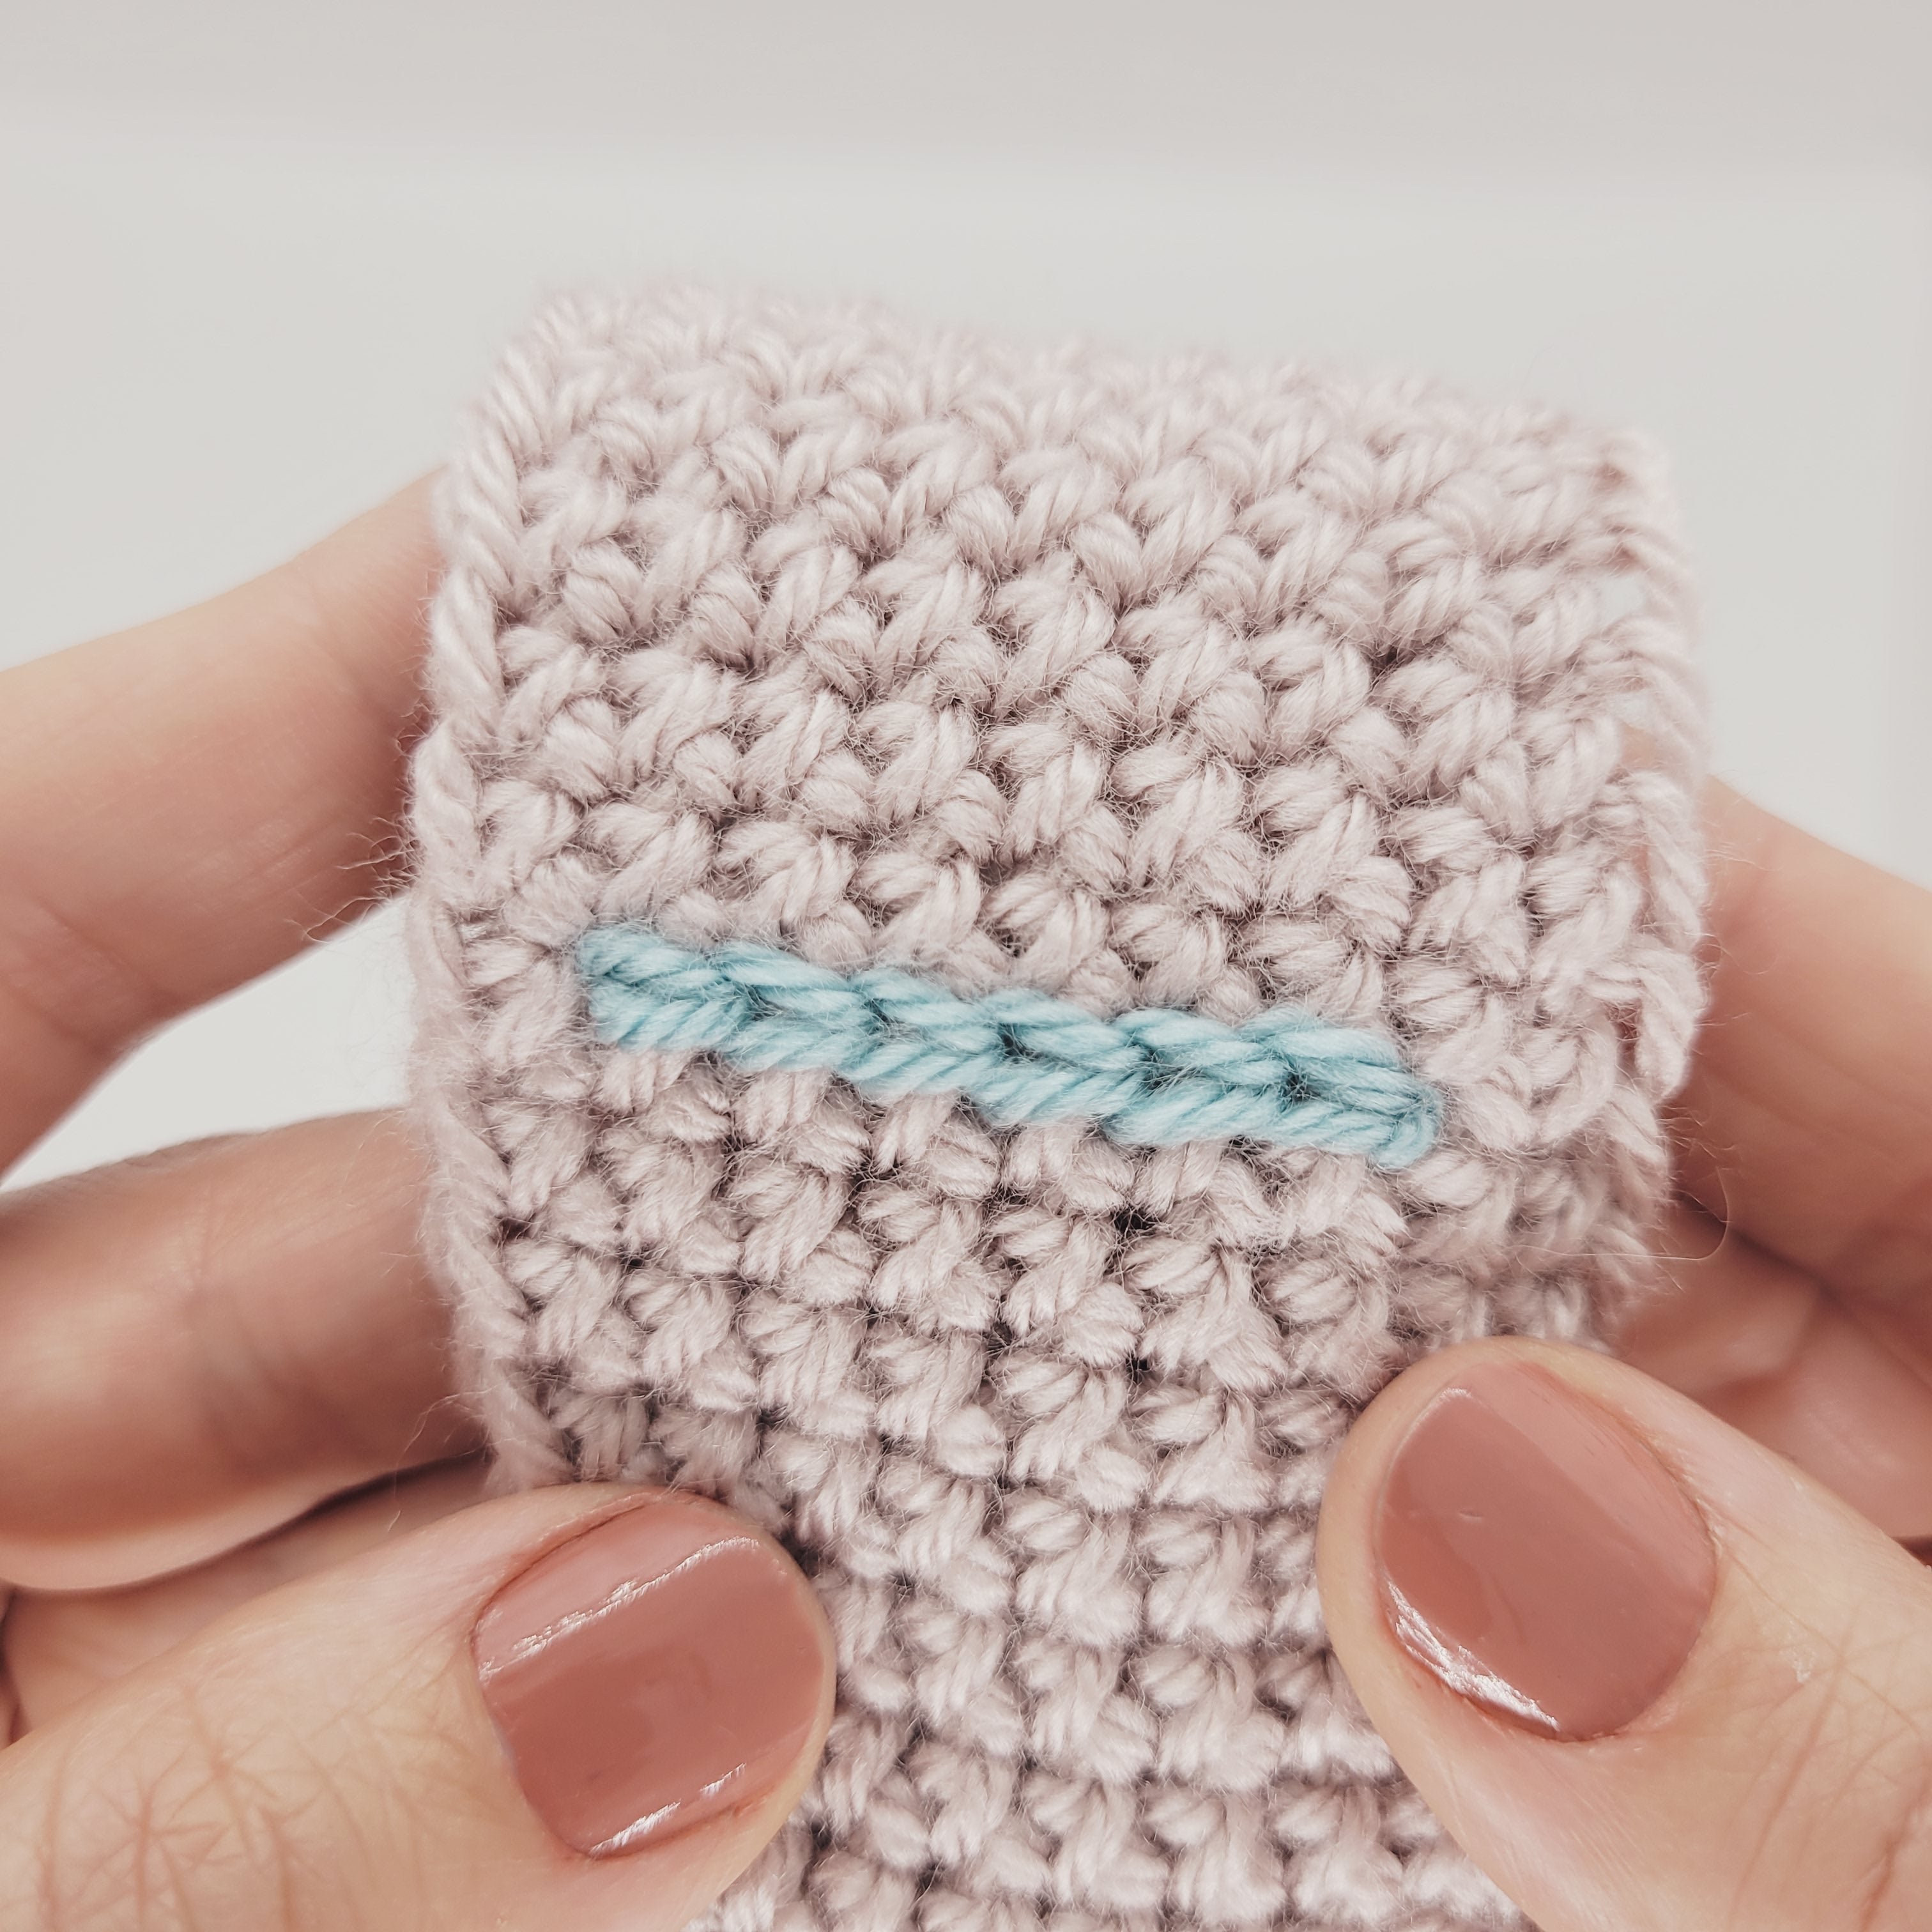
Finished look


